Let me ask you a simple question! What do you expect from online videos? Do you want to see low-resolution videos? I am pretty sure not. A low-quality video will ruin the entire experience.
If you are fed up with grainy and blurry videos that are a far cry from what was expected, worry no more friend! CapCut, a powerful editing app, has come to your rescue.
Visual quality can make or break your content; it’s the voice of your message that you want to pass across to your audience. However, if you wish your videos to go viral, one of the important things to consider is quality.
For every Instagram blogger and business professional, the quality of the content is paramount to almost every audience. Don’t underestimate the power of CapCut templates; with some changes, your ordinary video turns into an impressive masterpiece.
Now let’s take a closer look at how to enhance video quality in CapCut, making your content look polished but not overly serious.
Table of Contents
What is the Highest Resolution Expected by CapCut?
Before getting into how to enhance video quality in CapCut, first understand the two important terms: imported video resolution and exported video resolution.
The imported video resolution is the resolution of those videos you upload to CapCut for editing and the exported video resolution is the resolution of the video you export from CapCut after editing.
CapCut has no limitation on the resolution of imported videos. You can import HD, Ultra HD, 720p, and even 4K resolution videos. But the only limitation is that you can export your video maximum in 1080p.
In other words, you can only export 1080p resolution videos with CapCut, which may result in poor quality. Fortunately, you can improve your videos by following a few tips.

How to Enhance Video Quality in CapCut?
However, CapCut does not have a magic button to enhance the video quality, but here are a few steps to follow:
Step #1: Run CapCut
CapCut for iOS is available on the App Store and Android on Google Play. It’s simple to log in and navigate to the home page. If you don’t already have an account, sign up to make one. If CapCut is restricted in your location or you are from India, activate the VPN.
Step #2: Import Your Footage to CapCut
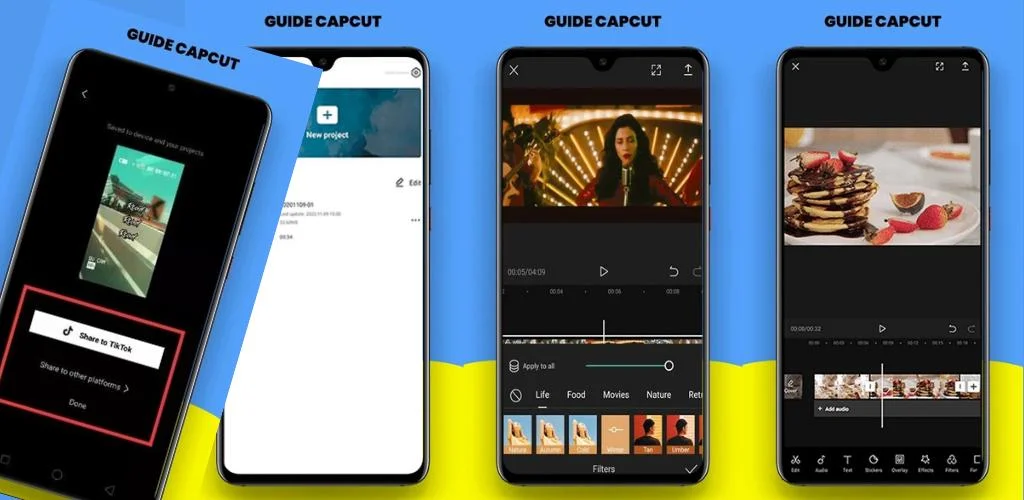
Once your clips are ready, open CapCut and select “New Project” to start working on it. Choose the video clips you wish to edit and import them into the app. You’ll see them on the editing timeline and are ready to add magic.
Step #3: Add Effects and Filters to the Video
Filters instantly enhance the mood of your video and create a cinematic vibe. CapCut has a library of filter templates to give your footage a professional feel.
Go to the “Filters” section and browse the different categories. There are options for retro looks, cinematic styles, and fun ones like vintage. Choose one and adjust its intensity to ensure it complements the original video.
Add effects like”Glow’, “Blurr”, or “Sparkle” to make the video stand out. However, keep it minimal – you want to enhance the video, not distract viewers with too many effects

Step #4: Adjust Video Saturation, Contrasts, and Brightness
Now, let’s make your footage look even more vibrant! Tap on your video clip, then head to “Adjust.” the brightness, contrast, and saturation. If your video is a little dark, brighten it up. But don’t go overboard, or it’ll look washed out.
Increasing contrast makes the dark areas darker and the light areas lighter, which can make your video pop. Saturation is what makes colors look bolder. Just a little boost can make the footage lively.
Mess around with these settings until your video looks just right. It’s like seasoning your food – you want just enough, but not too much!
Step #5: Adjust Frame Rate and Resolution
Before exporting your video, be sure the frame rate and resolution are set properly. Tap the “Export” icon in the upper right corner of the screen. You’ll notice options for changing the resolution (from 480p or 780p to 1080p) and frame rate (up to 60 fps).
Keep in mind that changing these adjustments will affect the file size, which you can see below the ‘Smart HDR’ option.
Step #6: Add Background Music and Sound Effects
Music is not directly related to video resolution. But it impacts the overall viewing experience. CapCut lets you add background music, sound effects, and even voiceovers. Synchronizing these audio elements with your images results in a more immersive and professional finished video.
Step #7: Export the Final Video
After all your edits, export the CapCut video without a watermark. Tap the “Export’ icon and wait for a few seconds to complete the video exporting.
Don’t lock or close the app during the process. The app will notify you once the video has been successfully exported and saved to your CapCut projects and Gallery.

Bonus Tips for an Extra Boost!
- Sharpen Your Footage: Sharpening video clips will highlight the video details and important clips. Use CapCut’s sharpness tools to enhance the edges and textures of the footage.
- Reduce Noise: Noise can distract the overall quality of your video. Using noise reduction tools, reduce the noise for a smoother appearance from start to finish.
- Stabilize Shaky Footage: Shaky footage makes you unprofessional. CapCut stabilization tool will stabilize the unwanted camera moments and give you a polished look.
Conclusion
CapCut makes it so easy to take your videos from basic to brilliant. With just a few tweaks, you can seriously improve the quality of your clips, making them look way more professional.
So, go ahead and try these tips. Editing should be enjoyable, and with CapCut, you’re in good hands. It’s time to enhance those videos and let your creativity shine!
